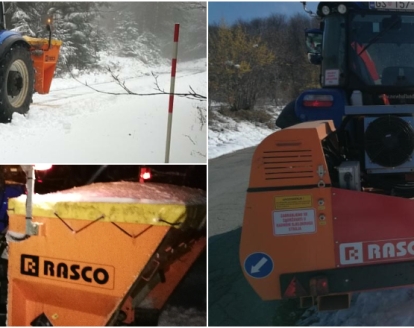
Salt spreader maintenance: 5 Steps + storage tips for the next season
Regular maintenance of your salt spreader is essential to prevent clogging, corrosion, and costly repairs. In this guide, we explain how to maintain your salt spreader after winter service and prepare it for storage, ensuring it is ready for the next season.

After a demanding winter season, salt spreaders are often exposed to moisture, salt residue, and heavy use, which can cause several common issues. Identifying these problems early can prevent costly repairs and ensure reliable performance in the next season.
Common salt spreader problems after winter
One of the most frequent problems is clogging caused by residual salt and moisture. When salt hardens inside the hopper or spreading mechanism, it can block material flow and reduce efficiency. Regular cleaning after use and before storage is essential to prevent build-up and keep the system fully functional.
Salt is highly corrosive, and prolonged exposure can damage metal components, including the hopper, spinner, and fasteners. If not properly cleaned and protected, corrosion can weaken structural parts and result in costly repairs.
Checking the spreading mechanism and ensuring all components are clean and properly adjusted helps maintain consistent performance.
5 salt spreader maintenance steps
1. Cleaning the remaining spreading material
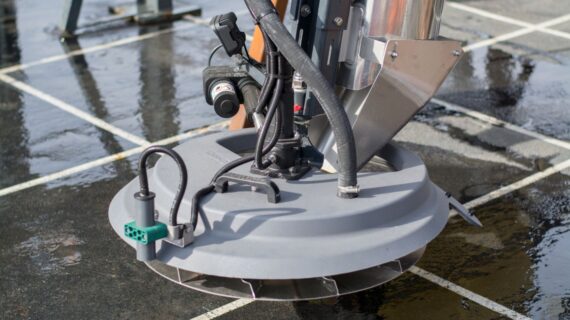
It is necessary to empty all the material from the salt spreader and rinse both containers (both for the dry and liquid agent) thoroughly with clean water. All external parts of the spreader that are dirty or have come into contact with salt should also be thoroughly washed. Special attention should be paid to the liquid agent pump, which must be cleaned so thoroughly that clean water flows through the system during washing (it is enough if the tank is filled to a quarter). To prevent the pump from being damaged during freezing, antifreeze must be filled into the pump. Also, the main filter of the liquid spreading system must be flushed with clean water.
2. Checking the hydraulic system
It is necessary to check the entire hydraulic system of the salt spreader. If oil leaks, e.g. due to damage of the hydraulic hose, it must be replaced immediately.
3. Checking the electrical installation
Thoroughly check all cables and sockets on the salt spreader body and repair any damage. If the couplings are corroded, it is necessary to remove the cause of corrosion and clean the corroded element. It is recommended to use a contact spray and then adequately protect the element from further corrosion.
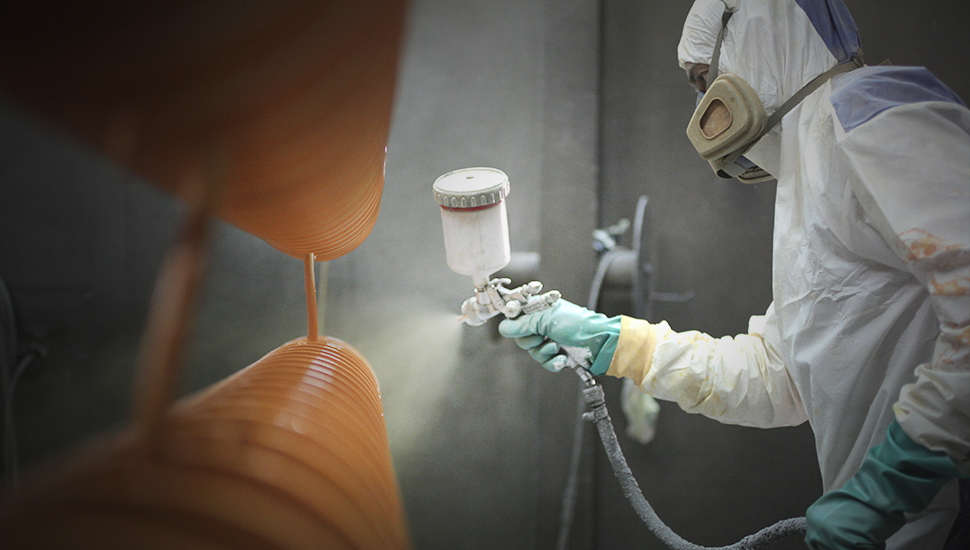
4. Surface protection
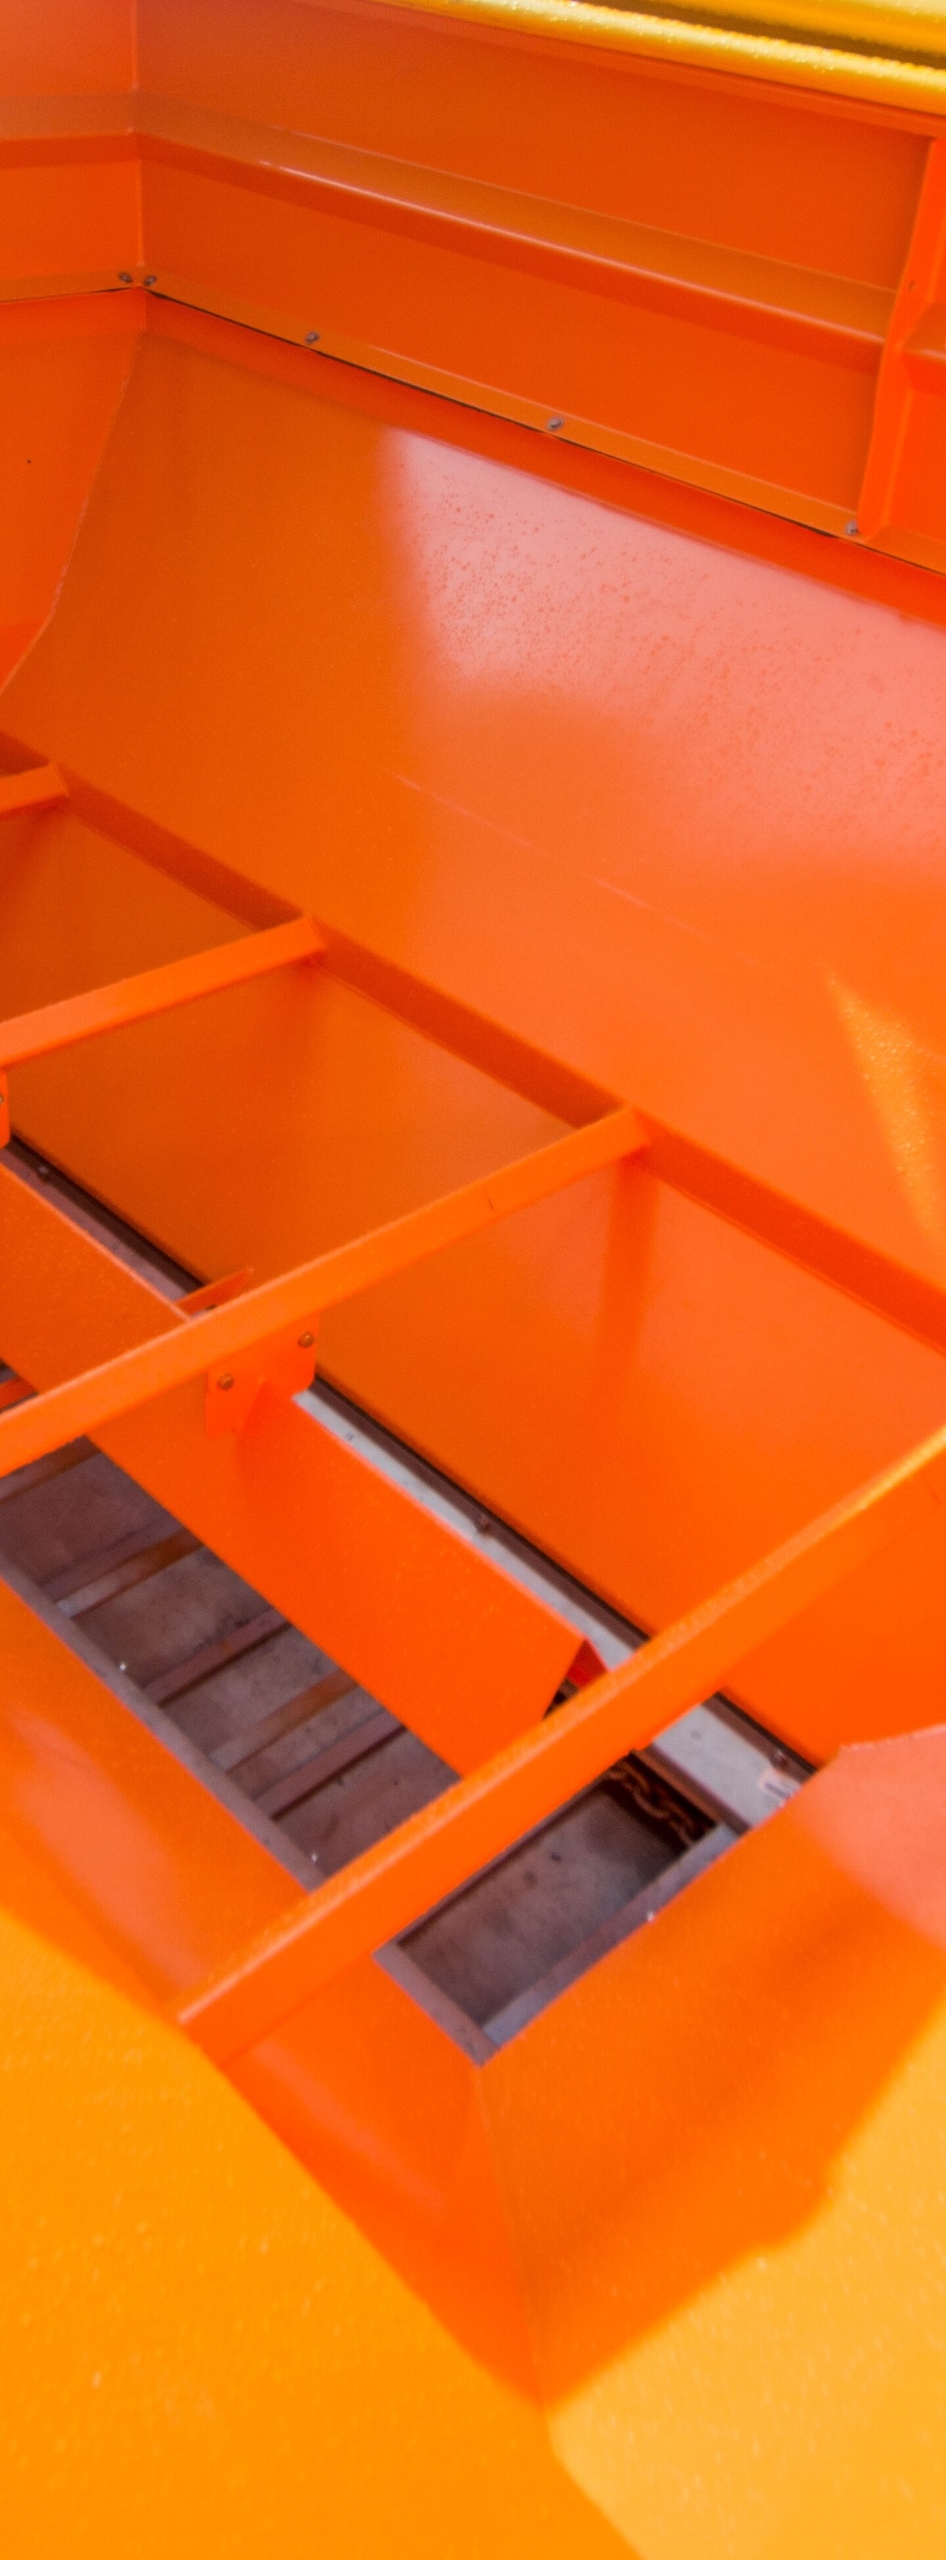
After thoroughly washing and drying the equipment, perform an inspection of the entire salt spreader and locate the places where damage has occurred, i.e. damage to the surface protection. Remove the rust by hand or machine (depending on the location) and sand the surrounding areas. The surface must then be painted with a primer and allowed to dry for up to 5 hours (depending on conditions), after which a polyurethane varnish of the appropriate color is applied. The hydraulic components, i.e. the couplings and the hydraulic motor, must be thoroughly washed and preserved with a layer of wax.
5. Storage
Store the salt spreader in a suitable place, preferably protected from external influences and bad weather conditions. Remove the electronics, i.e. the spreader’s control units from the cabin, store them properly in a dry place and label them so that the units cannot be mixed up later.
To ensure long-term and efficient use of the salt spreader, it is necessary to perform a number of steps after use. It is necessary to thoroughly clean all parts, check the hydraulic and electrical system and remove any damage to the surface protection. After the spreader is prepared for storage, it must be kept in a safe place and the control unit must be disassembled. With proper maintenance and storage, the spreader will be ready for use in the next season.